Introduction
A dead car battery always seems to strike at the worst possible moment. Maybe it’s a freezing winter morning when your engine refuses to crank, or perhaps you left your lights on overnight. Either way, the solution often lies in the simple but critical process of a jump-start. While jump-starting a car might sound straightforward—just connect cables and start the engine—the reality is more complicated. Without proper preparation, you could damage your battery, electrical system, or even injure yourself.
That’s why professional mechanics stress preparation as the key to a fault-free jump-start. Knowing how to set up your car safely, identify potential risks, and execute the process properly ensures not only that your vehicle starts but also that you avoid costly mistakes.
Why Proper Preparation Matters
Jump-starting a car may look simple in movies, but under the hood, things can go very wrong if you’re not careful. A poorly executed jump-start can:
- Damage sensitive electronics like your alternator, ECU, or infotainment system.
- Cause sparks or fire hazards if cables are connected incorrectly.
- Explode a battery if it’s leaking or heavily damaged.
- Lead to personal injury due to improper handling of tools and cables.
Preparation is about much more than connecting the red clamp to positive and the black clamp to negative. Professionals approach every jump-start methodically to assess risks, check the condition of the vehicle, and ensure a safe energy transfer between batteries.
Step 1: Identify the Signs of a Dead Battery
Before reaching for your jumper cables, you need to confirm whether the battery is actually the problem. Sometimes, the issue lies elsewhere.
Common signs of a dead battery include:
- The engine doesn’t crank or only makes a clicking noise.
- Dashboard lights are dim or completely off.
- Power windows and locks don’t work.
- Headlights are weak or flicker.
Signs the issue might not be the battery:
- If turning the key produces silence and no dashboard lights, it could be a blown fuse or starter motor problem.
- If electrical systems work but the engine doesn’t crank, the issue might be the starter or ignition system.
Pro tip: Always verify the battery as the culprit before attempting a jump-start.
Step 2: Inspect the Battery Condition
Jump-starting a severely damaged battery can be dangerous. Professionals always inspect before connecting.
Things to check:
- Leaks: If you see fluid around the battery, do not attempt a jump-start.
- Cracks or bulges: These indicate structural damage and risk of explosion.
- Corroded terminals: Corrosion can interfere with proper contact and create sparks.
- Loose connections: Ensure clamps can grip securely.
If the battery shows major physical damage, replacement is safer than jump-starting.
Step 3: Gather the Right Equipment
A successful jump-start depends heavily on having the right tools. Pros never use poor-quality cables or worn-out jump packs.
Essentials include:
- Heavy-duty jumper cables with thick insulation and strong clamps. (Thin, cheap cables may not carry enough current.)
- A portable jump-starter pack (useful if another car isn’t available).
- Protective gloves and safety glasses to prevent injury.
- Wire brush or terminal cleaner to remove corrosion if necessary.
Pro tip: Keep these in your car emergency kit so you’re always ready.
Step 4: Position the Vehicles Correctly
When using another vehicle to jump-start, positioning is key:
- Park the booster car close enough for cables to reach—but ensure the vehicles don’t touch.
- Engage the handbrake on both cars.
- Turn off both ignitions and all electrical accessories (lights, AC, radio).
Correct positioning minimizes risks and ensures a stable connection.
Step 5: Safety Checks Before Connecting
Pros always pause for a final safety check:
- Ensure both cars are in park (automatic) or neutral (manual).
- Double-check that jumper cables are untangled and clamps are clean.
- Identify positive (+) and negative (-) terminals clearly.
- Confirm that no flammable substances (like fuel leaks) are nearby.
This quick checklist avoids dangerous mistakes.
Step 6: Correct Jumper Cable Connection Order
The order of connection matters a lot. Professionals follow this sequence:
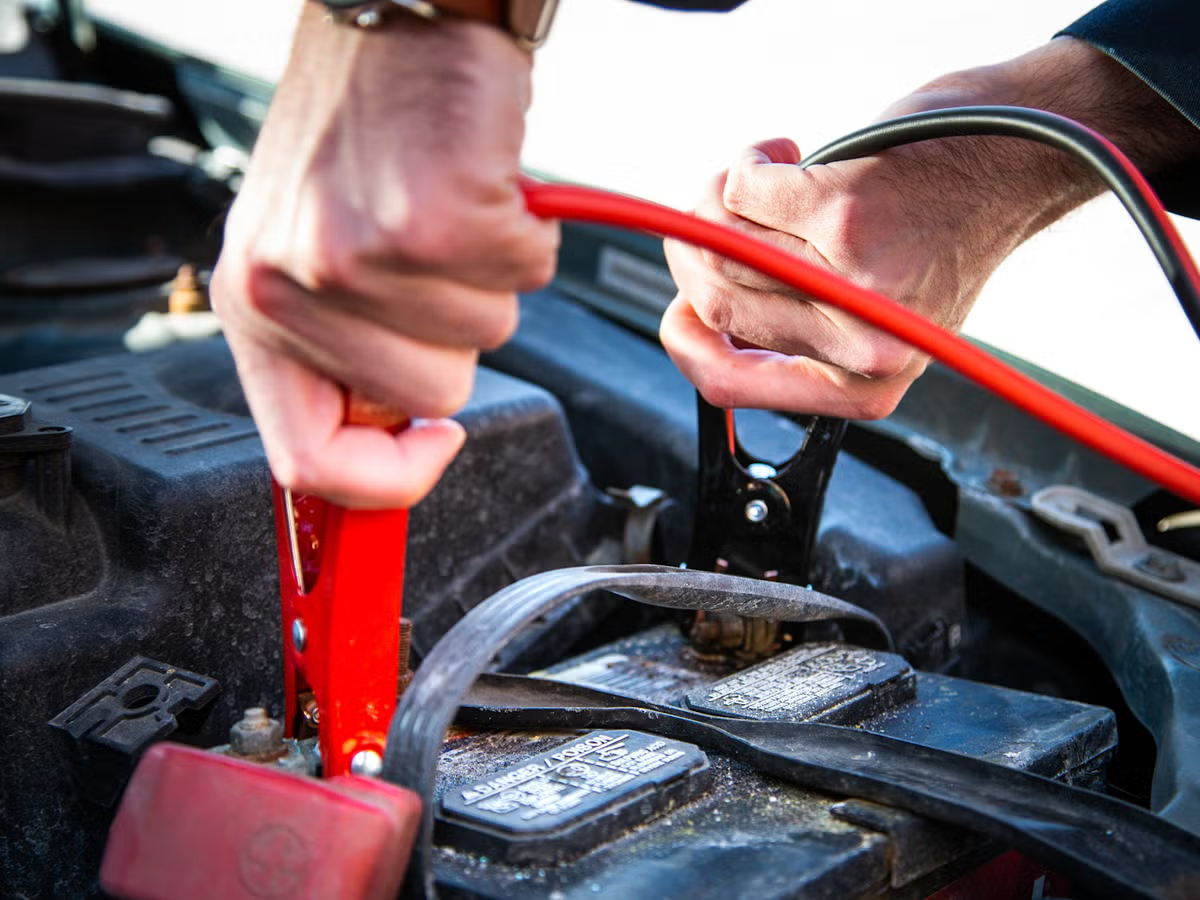
- Red clamp to dead battery positive (+).
- Red clamp to booster battery positive (+).
- Black clamp to booster battery negative (-).
- Black clamp to an unpainted metal surface on the dead car’s engine block (not the battery terminal).
This reduces the chance of sparks near the dead battery and ensures a stable ground.
Step 7: Starting the Cars
Once cables are secure:
- Start the booster vehicle and let it idle for a couple of minutes. This allows the dead battery to accumulate some charge.
- Attempt to start the dead car. If it doesn’t start immediately, wait a little longer before trying again.
- Never crank for more than 10 seconds at a time to avoid damaging the starter.
Step 8: Disconnecting Safely
Disconnecting cables improperly can be just as risky as connecting them. Follow the reverse order:
- Remove black clamp from the grounded metal surface.
- Remove black clamp from booster battery negative.
- Remove red clamp from booster battery positive.
- Remove red clamp from dead battery positive.
Avoid letting clamps touch each other during removal.
Step 9: Letting the Engine Run
Once your car starts, let it idle for at least 20–30 minutes to recharge the battery. If possible, drive for 30–60 minutes to allow the alternator to replenish charge more effectively.
Pro tip: If your battery dies again soon after, it may need replacement instead of another jump-start.
Advanced Pro Tips for a Fault-Free Jump-Start
- Avoid jump-starting in rain without protective cover—it increases shock hazards.
- Don’t use mismatched vehicles (tiny car boosting a large truck) as it stresses the smaller battery.
- Check your car manual—some modern cars with sensitive electronics may require specific procedures.
- Use jump packs for hybrids and EVs carefully—they may have unique systems.
Preventing Future Jump-Start Situations
Professionals know that prevention saves time, money, and stress. To reduce battery failures:
- Regularly test your battery health at service intervals.
- Clean terminals to prevent corrosion.
- Avoid short trips only—longer drives keep the battery charged.
- Turn off accessories (lights, heaters, radios) before shutting down the engine.
- Replace aging batteries (typically every 3–5 years).
The Professional Touch
Jump-starting can be done by any driver, but doing it like a pro means being thorough, careful, and safety-focused. Professionals don’t just connect cables—they assess the situation, prepare the equipment, check for risks, and ensure that both vehicles and people remain safe throughout the process.